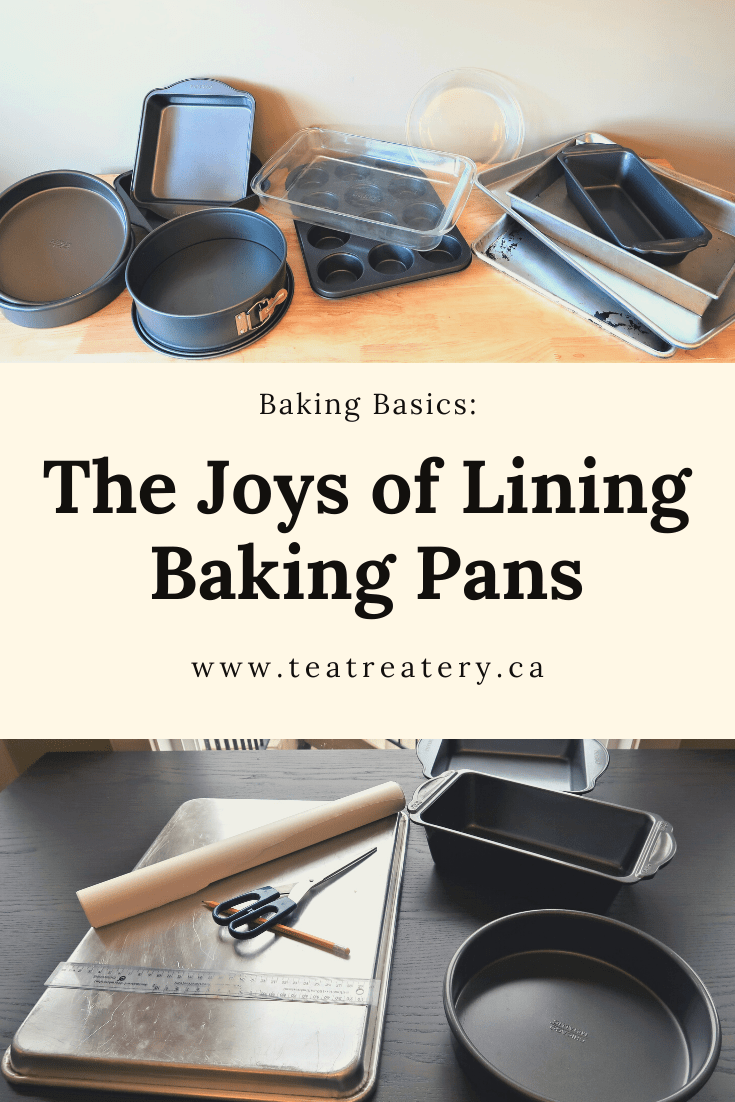
It’s time to take a break from the recipes and dive into the exciting world of baking basics. Most recipes ask you to grease your pan, but sometimes they need to be lined with parchment paper or aluminum foil. It may seem like it’s a total pain in the butt to do all this, but it does ensure that the cake will release quickly from the pan. For certain recipes, this is mighty helpful. I have laid out some easy steps to help increase your knowledge about lining baking pans.
Lining Cake Pans:
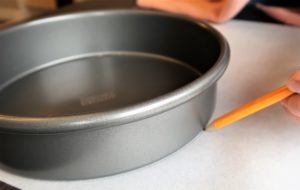
For lining a baking pan, you will need the required baking pan, parchment paper, a pencil, and a clean ruler. As a side note, having a ruler that is just for kitchen use is handy for a lot of applications. If you need to line only the pan’s base, you use the pencil and trace the bottom of the pan, making sure to angle the pencil so that the parchment will fit nicely into the base. Before putting any parchment into your pan, give it a quick spray of PAM or whatever you usually use to grease your baking pans.
There are some instances that a recipe will request that the whole pan to be lined, like my Apple Caramel Cake. It is also useful to mention that darker baking pans will bake cakes faster around the edges, if you were to line the whole cake pan it will help with a more even bake. In these instances, you would make the base as described above, and use the following instructions for lining the sides of the pan:
-
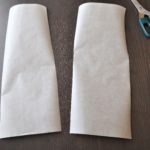
- 1. Cut two long strips of parchment paper
-
- 2. Fold up about half an inch of paper on both sections
-
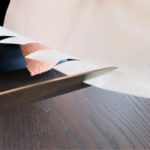
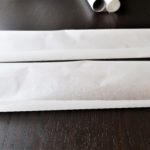
- 3. Make diagonal cuts along the length of the folds
-

- 4. Arrange the strips around the edge of the pan making sure that the ends overlap slightly
-
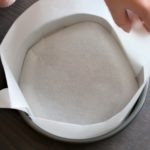
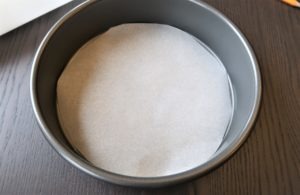
- 5. Place in the bottom circle piece
Lining Loaf Pans:
For some pans, more specifically, square and loaf pans, you can line them so that there is an overhang that will help you remove the cake from the pan. You can measure the base of the pan and transfer the measurements to the parchment paper or trace the bottom of the pan, but if you trace the pan, make sure you leave extra so that it hangs over the side. Make sure to grease the pan before placing the parchment into the pan.
-
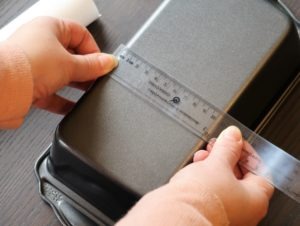
- Measure the base of the pan
-
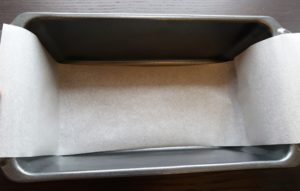
- Fold sides so that the parchment fits into the pan
Lining with Aluminum Foil:
The final pan lining that I will go over is for using aluminum foil to line a pan. This isn’t called for very often, usually just for bars or square recipes. I’ve had to do this a couple of times when I made brownies or millionaire bars and have found a super-easy way of doing it.
-
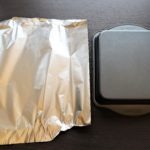
- Turn pan upside down and rip off a piece of aluminum foil that is larger than the pan.
-
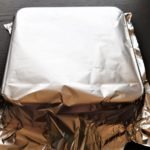
- Place the foil over the bottom of the pan and gently push down on the sides and corners. Remove the foil from the bottom so that it holds the shape.
-
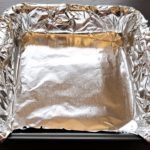
- Fit the foil into the pan and fold over any excess foil. Before putting batter into the pan make sure to grease it because the foil is definitely not non-stick.
I hope that you all found this helpful because lining pans can be a very beneficial baking skill to have. Good luck and happy baking.

No Comments